How to Remove Mold From Your Home and Help Prevent It From Coming Back
Mold in the home is more than an unpleasant eyesore. Those dark, green, gray, or white patches can be a sign that excess moisture is creating the right conditions for fungal growth. For some people, exposure to mold can contribute to allergy symptoms, respiratory irritation, coughing, or skin irritation. Mold can also damage building materials and household belongings when it is allowed to spread.
The key to dealing with mold is not simply removing what can be seen. The underlying moisture problem also needs to be addressed. Mold commonly develops in bathrooms, basements, kitchens, around windows, beneath leaking pipes, and in other areas where humidity remains high or ventilation is poor.
One household cleaning option that can be useful for small areas of mold is 3% hydrogen peroxide. It can help kill mold on some surfaces and may be particularly useful for certain household cleaning tasks. However, no cleaning product can permanently solve a mold problem if the moisture source remains.
Before beginning, make sure you have the appropriate supplies. Depending on the size and location of the affected area, these may include 3% hydrogen peroxide, disposable gloves, protective eyewear, a suitable mask or respirator, a scrub brush, disposable cloths or paper towels, and plastic sheeting to protect nearby surfaces.
Good ventilation is also important. Open windows or doors where practical, and avoid unnecessarily disturbing moldy materials. Scrubbing or disturbing mold can release particles into the air, so working carefully is important.
Step 1: Identify the Source of Moisture
Before cleaning, look for the reason the mold appeared.
A leaking pipe, damaged roof, condensation, plumbing problem, or excessive indoor humidity can all contribute to mold growth. If the moisture problem isn’t corrected, mold can return even after the visible growth has been removed.
Check around the affected area for leaks, damp drywall, condensation, or water stains. In bathrooms, make sure exhaust fans are functioning properly. In basements, a dehumidifier may help reduce excessive moisture.
Step 2: Prepare the Area
Put on your protective equipment before disturbing the mold.
Keep children and pets away from the area while you’re cleaning. If possible, increase ventilation without creating strong air currents that could spread mold particles throughout the house.
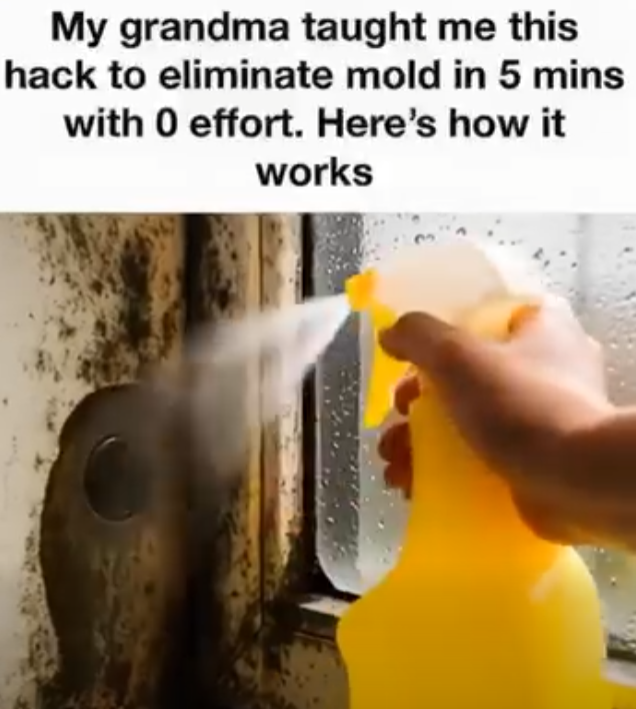
For a small affected surface, apply 3% hydrogen peroxide directly to the moldy area using an appropriate spray bottle or cloth.
Allow the solution to remain on the surface for several minutes so it has time to work. Hydrogen peroxide may produce visible bubbling when it contacts certain organic materials, although bubbling isn’t a reliable measure of how effectively mold has been removed.
Step 3: Scrub and Wipe the Surface
After allowing the solution to sit, gently but thoroughly scrub the affected area using a suitable brush.
The goal is to remove visible mold and contaminated residue from the surface. Avoid aggressive scrubbing that could unnecessarily spread particles into the surrounding air.
Once the area has been cleaned, wipe away the remaining residue with a clean, disposable cloth.
For hard, nonporous surfaces, this approach may be sufficient for a small amount of mold. Porous materials such as drywall, insulation, carpet, and heavily contaminated wood can be much more difficult to clean completely. In some cases, those materials may need to be removed and replaced rather than repeatedly treated with a household cleaner.
Step 4: Dry Everything Completely
Drying is one of the most important parts of mold prevention.
After cleaning, make sure the surface is completely dry. Use clean towels, fans, or a dehumidifier when appropriate.
Leaving moisture behind creates exactly the environment mold needs to return.
If the same area repeatedly becomes damp, cleaning it over and over will not solve the underlying problem. The leak, condensation, poor ventilation, or humidity issue needs to be corrected.
Prevent Mold From Returning
Prevention begins with moisture control.
Keep indoor humidity below about 60%, with lower levels often preferable when practical. A simple indoor humidity meter can help you monitor conditions.
In bathrooms, use exhaust fans during and after showers. Repair leaking faucets and pipes promptly. Make sure gutters and downspouts direct water away from the foundation, and investigate unexplained water stains as soon as they appear.
Basements and other damp areas may benefit from improved ventilation or a dehumidifier.
It’s also important to understand when a mold problem is too large for a simple household cleaning project. Extensive mold growth, mold associated with significant water damage, or contamination involving porous building materials may require professional assessment and remediation.
Never Mix Cleaning Chemicals
One of the most important safety rules is to never mix hydrogen peroxide with other cleaning chemicals.
In particular, don’t combine it with bleach, vinegar, ammonia, or other household cleaners. Mixing cleaning products can produce hazardous reactions or irritating fumes.
Use one product at a time, follow the product label, and provide adequate ventilation.
Ultimately, successful mold control isn’t just about making a surface look clean. It’s about removing visible growth, controlling moisture, and preventing the conditions that allowed the mold to develop in the first place.
For a small household mold problem on an appropriate surface, careful cleaning with 3% hydrogen peroxide can be one possible option. But when mold is extensive, repeatedly returns, or involves significant water damage, professional help may be the safer choice.
With proper moisture control, adequate ventilation, and prompt attention to leaks and damp areas, homeowners can greatly reduce the conditions that allow mold to take hold.
The most effective mold strategy is simple: find the moisture, fix the source, clean carefully, dry completely, and prevent the problem from returning.